Mounting Awning Sun 3000 on a wall
How to mount Sun 3000 Awning on a wall. Wall mounting is the most commonly used type of installation in Denmark. Mounting on brick and wooden walls is no different other than that the supplied brackets for wooden walls are 70 mm wide brackets compared to 180 mm wide brackets for brick.

Always remember to ensure a sustainable base such as wooden beams, concrete or bricks. Also remember to give the awning enough slope and height so that water can run off and the awning does not conflict with open windows and doors.
Installation instructions
WALL MOUNTING - STEP 1
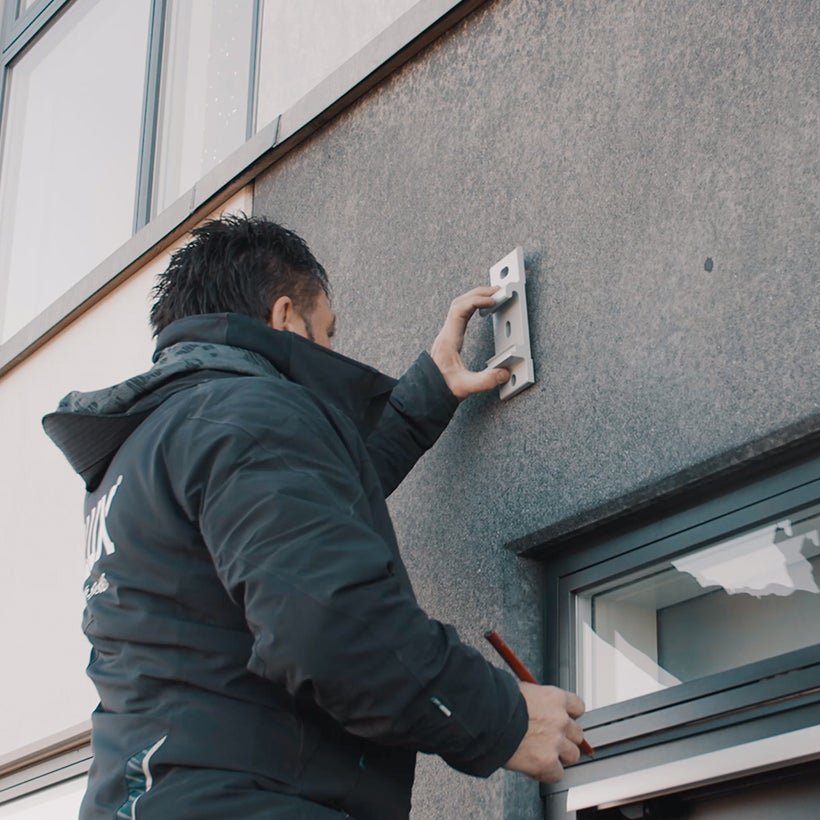
Measure and mark where you want your awning to hang
Measure and mark with a pen the holes in the brackets where you have ensured there is a sustainable base and that the awning has enough height so that the awning can have sufficient tilt and does not conflict with windows and doors
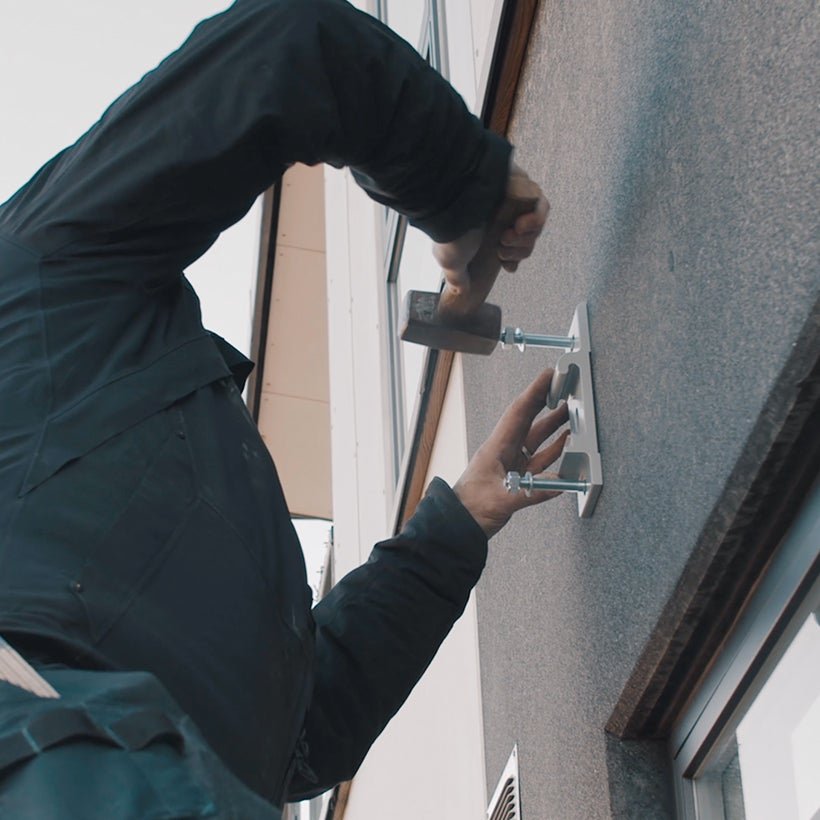
WALL MOUNTING - STEP 2
Install the awning brackets in the sustainable base
Drill holes for the included screws in the sustainable substrate where you have marked points and then install the sheds into the wall.
WALL MOUNTING - STEP 3
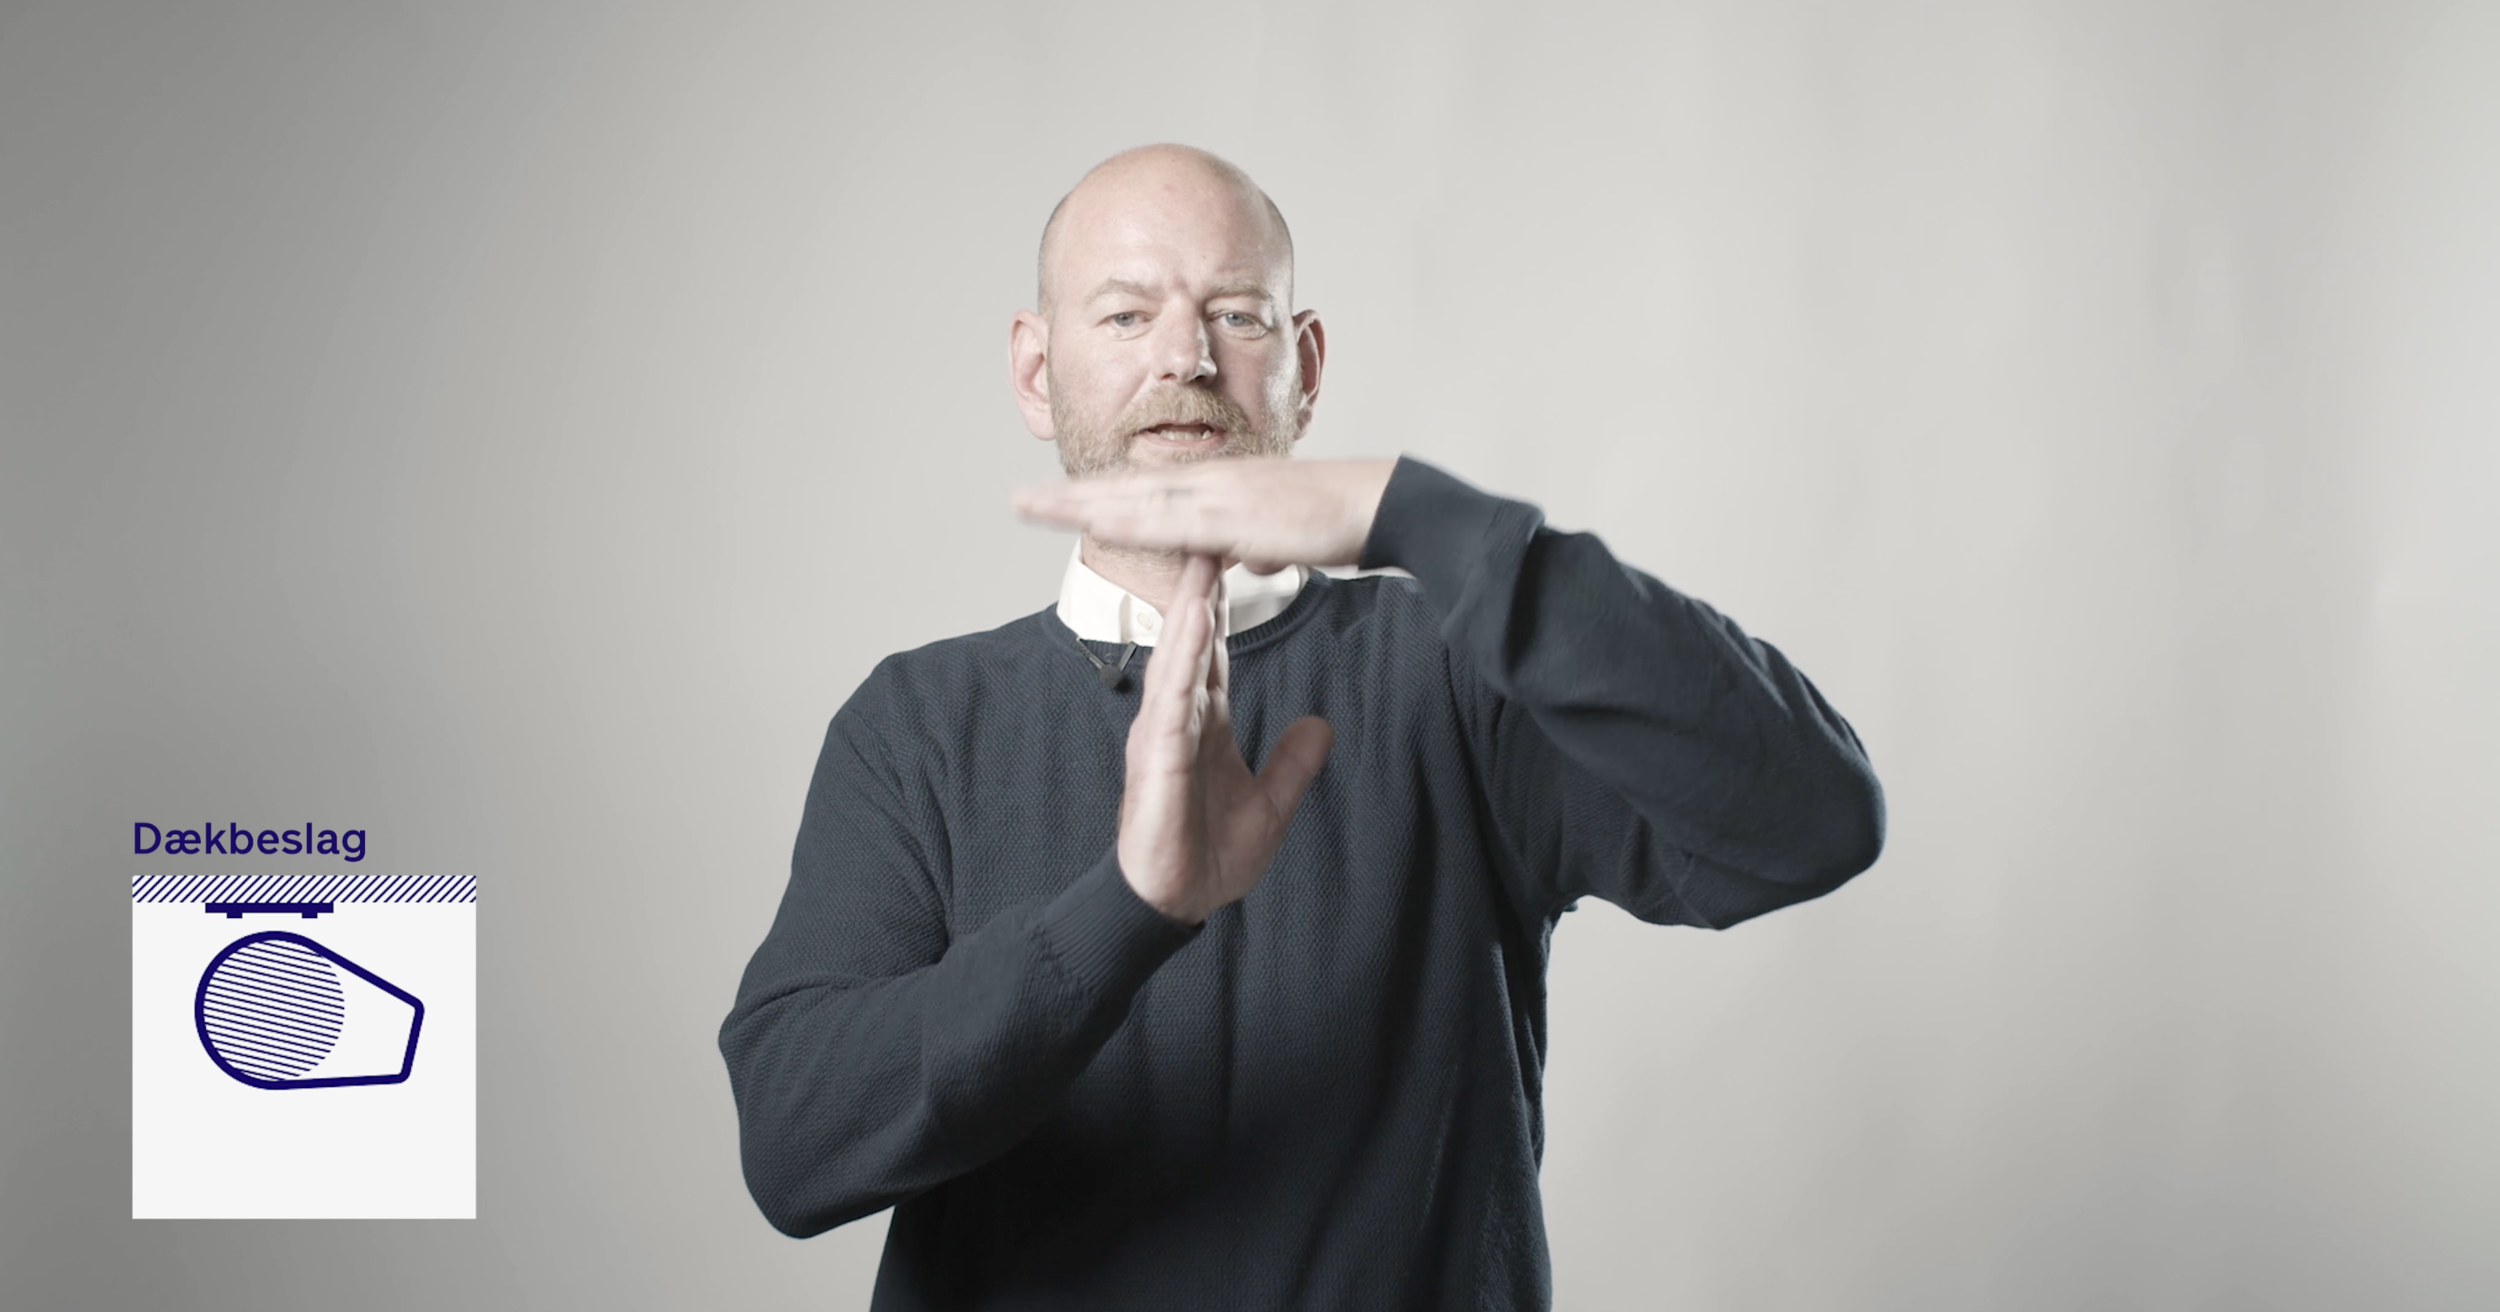
Loosen the gripper blocks, lift and click the awning into the brackets
Loosen the mounting brackets at the back of the awning corners and then lift the awning up to the height of your mounted brackets, click your awning in and tighten the brackets.

WALL MOUNTING - STEP 4
Connect power to the awning by an electrician. electrician
All electrical work must be done by an electrician. electrician and so should the connection of your awning. Call your local electrician and have your awning connected to 230 V, 50 Hz.

WALL MOUNTING - STEP 5
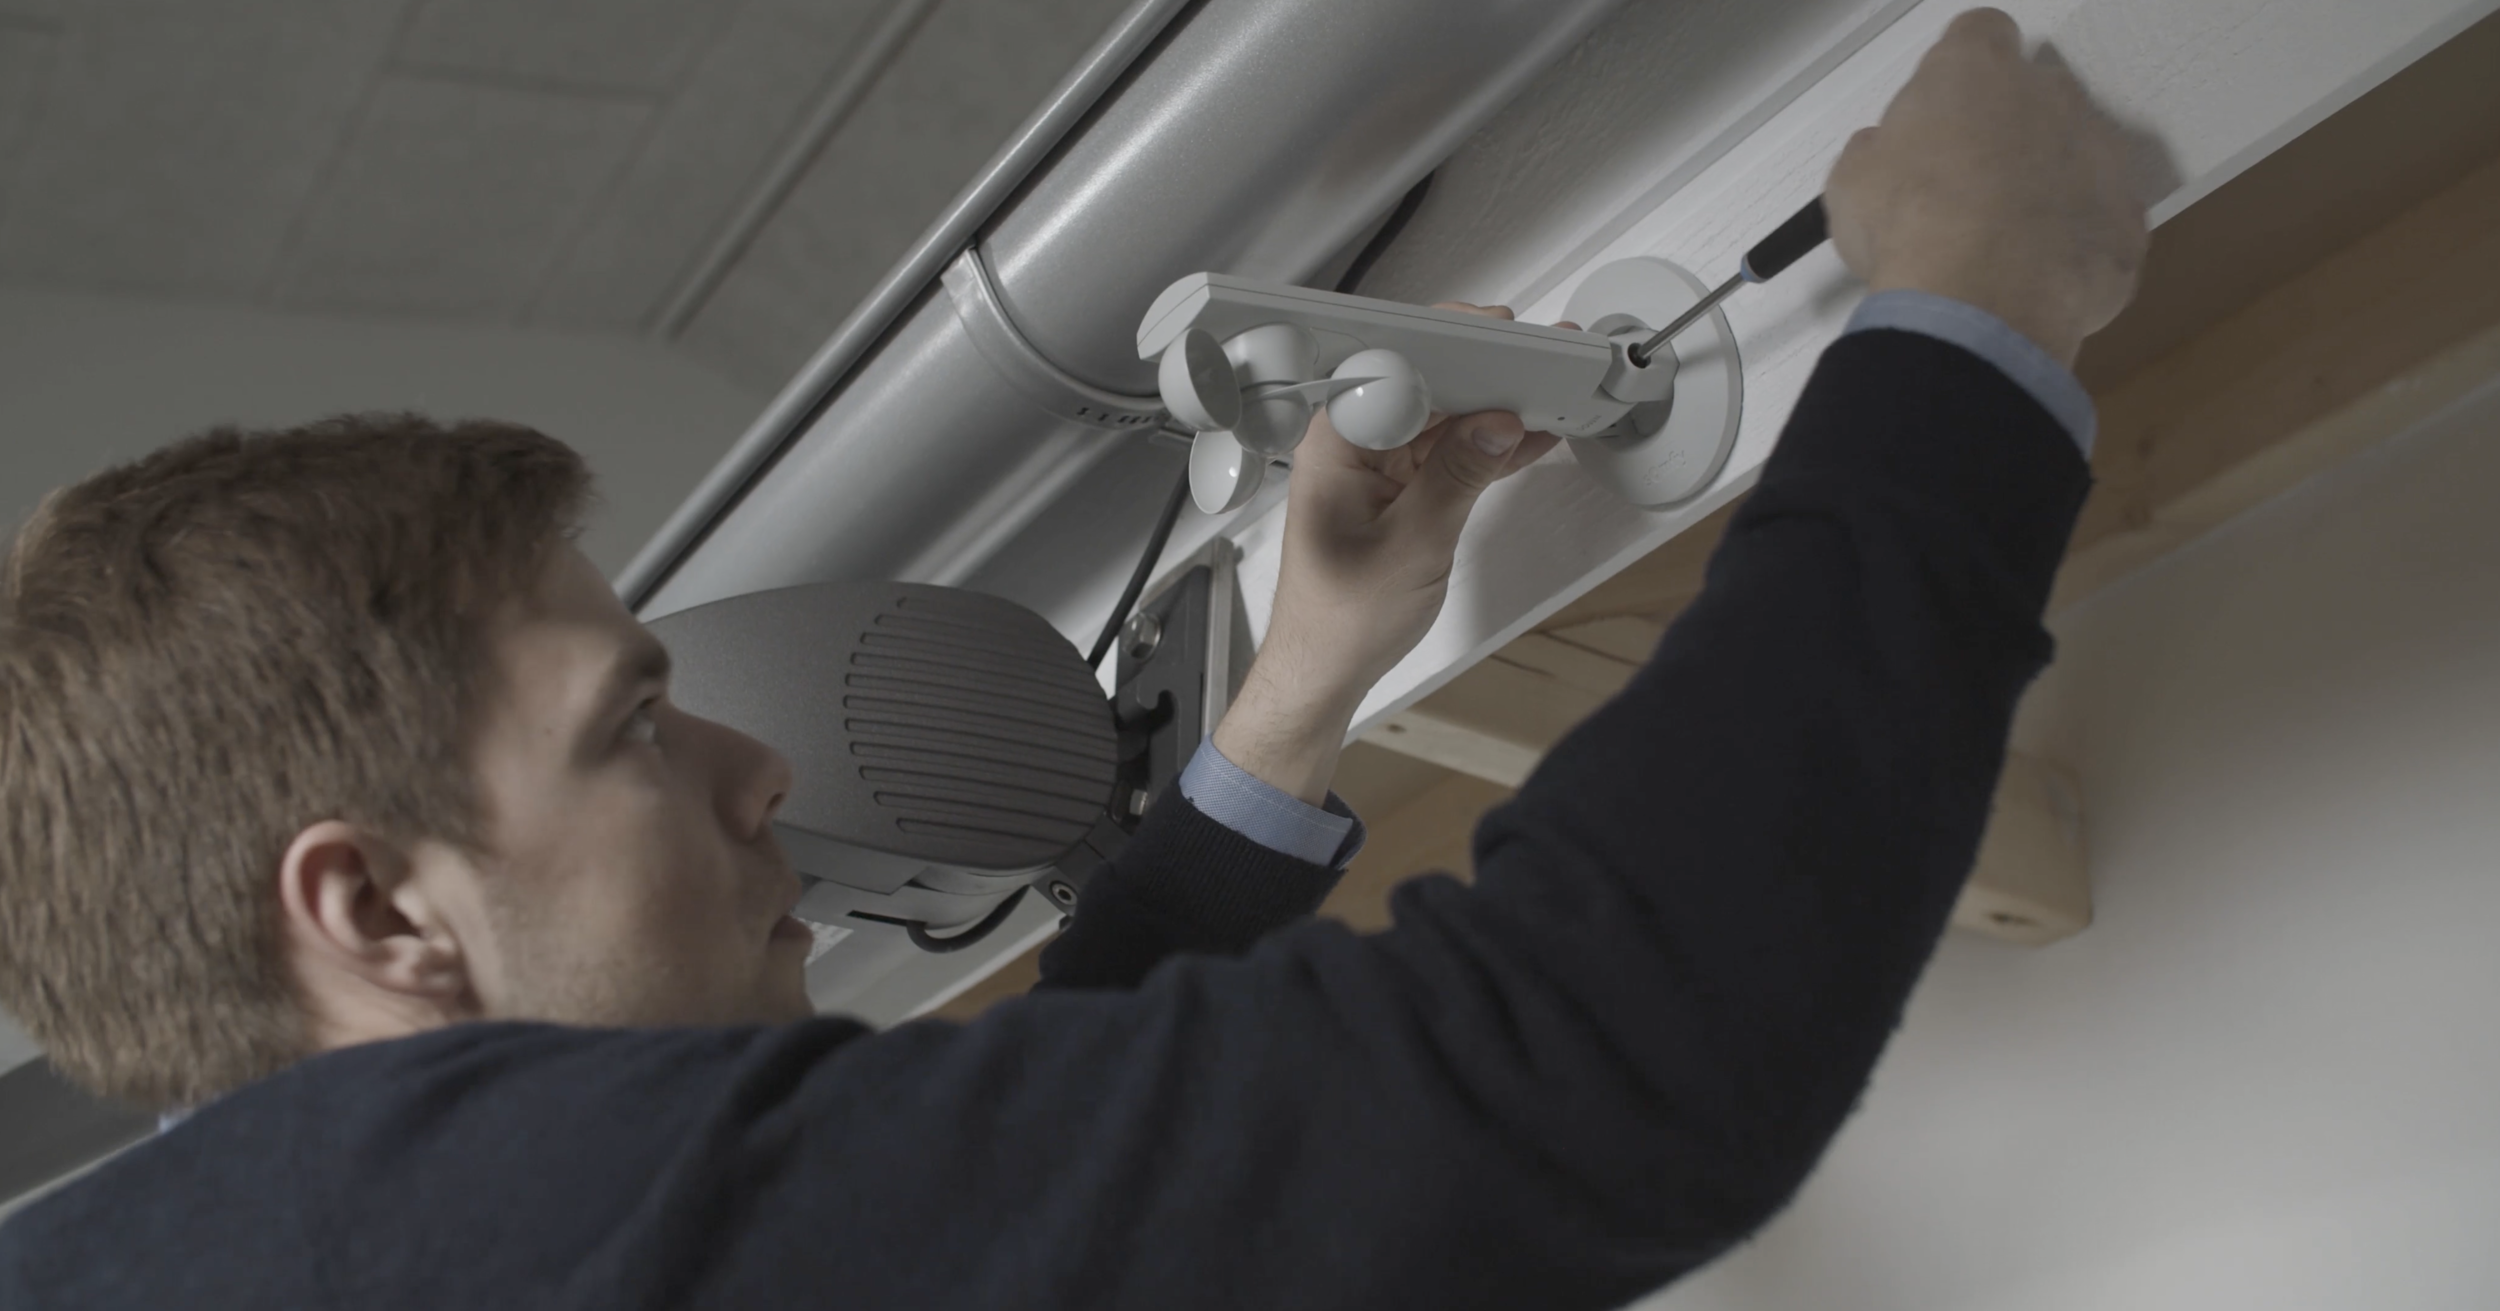
Adjust the tilt of the awning
After connecting, adjust the awning to the correct tilt to allow water to run off and not interfere with your open windows and doors. We recommend a slope of approximately 25 degrees.
Extend the awning half a meter with your remote control. Adjust the slope at the end of the awning with a 13 mm wrench and 6 mm Allen key.

WALL MOUNTING - STEP 6
Attach an end cap and enjoy your awning
Once you have adjusted the tilt of the awning, attach the end caps with the supplied screws. The awning is now installed, relax and enjoy your new awning.
Do you need help?
If you have questions about maintenance or want a professional service, call +4570262140 or write to service@alux.dk
Related service guides